Wyne Bar Progress
Matthew & Bianca,
Here's a little place on our website where you can check out progress on your bar.


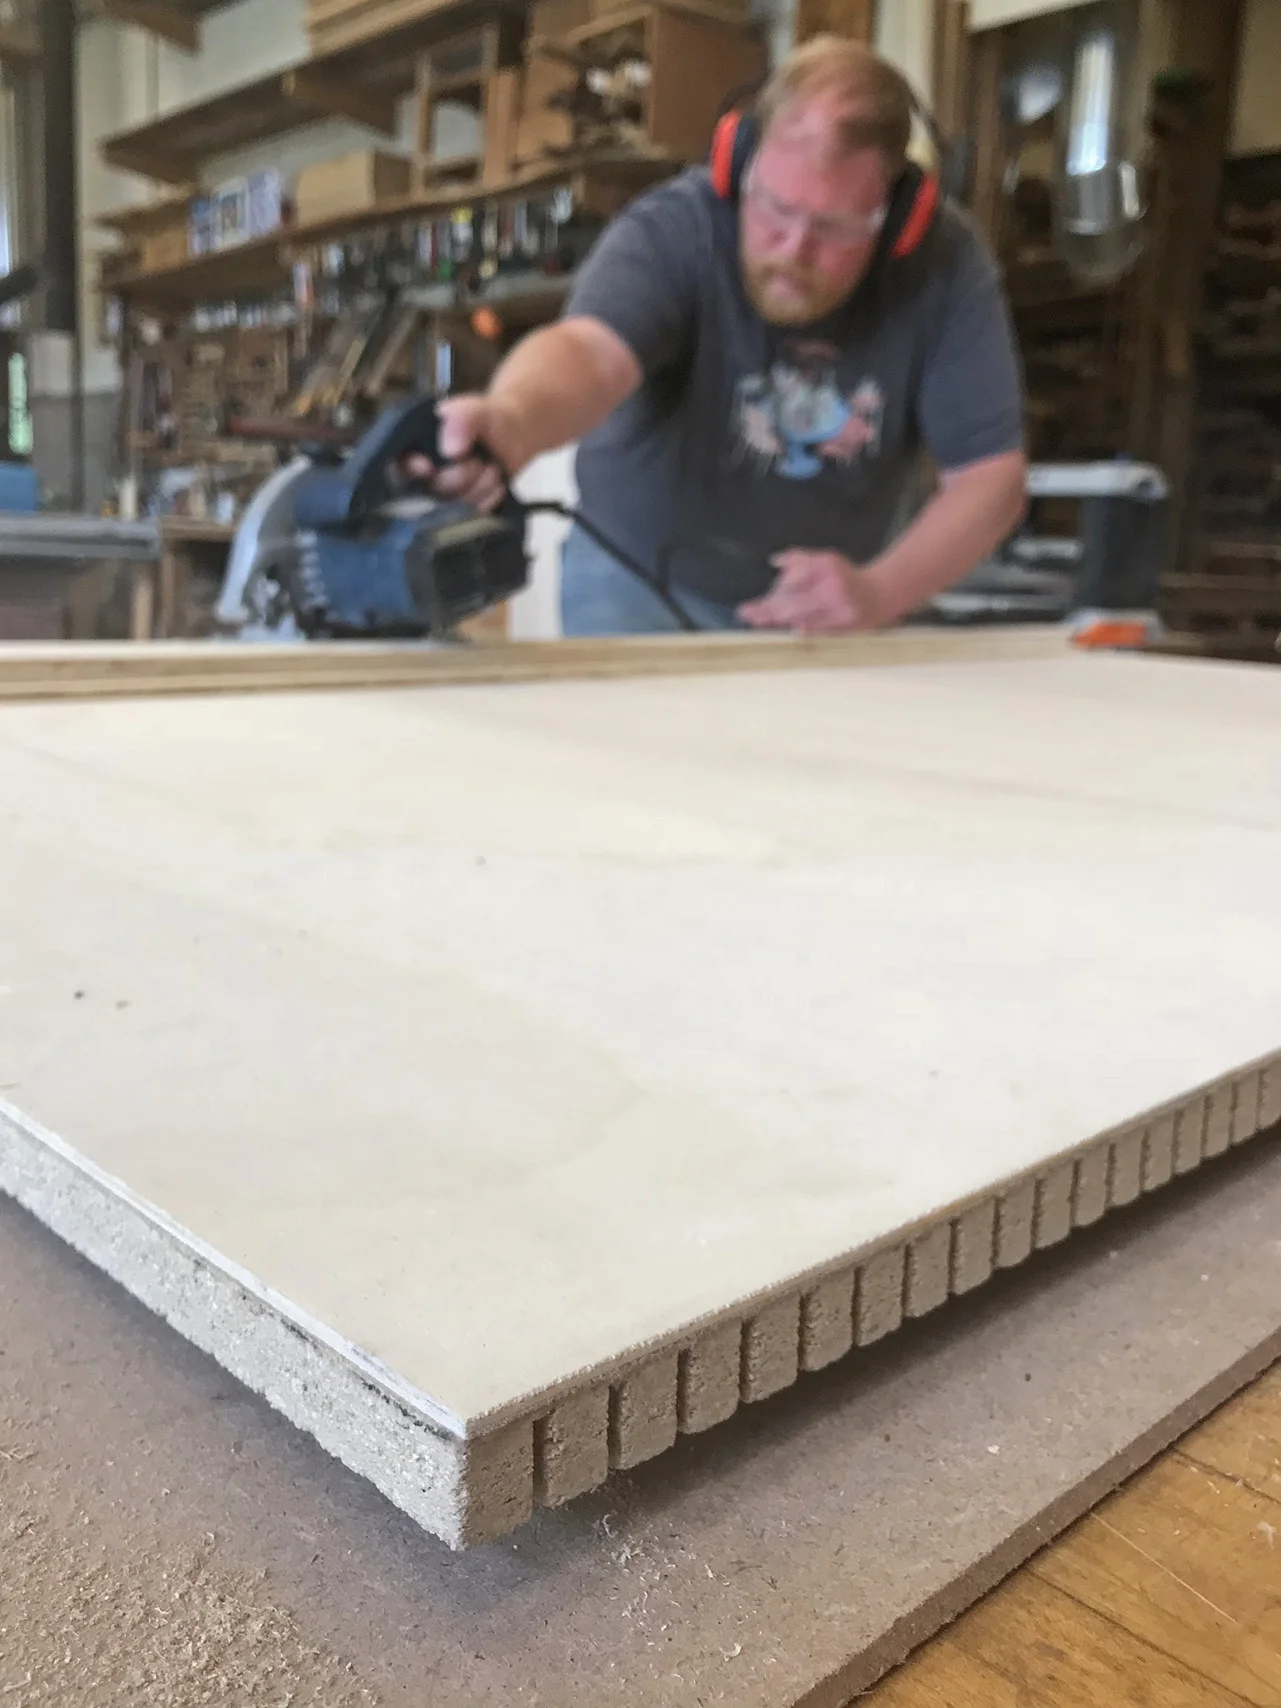
We spent the past few weeks acquiring materials and laying out a full scale plan. After going through several notions of constructing the curved carcase, we went with this pretty cool product called kerfcore. It enables us to get a really smooth and fair curve for the bar. I can see us using this again and again.


Full Scale Mock Up
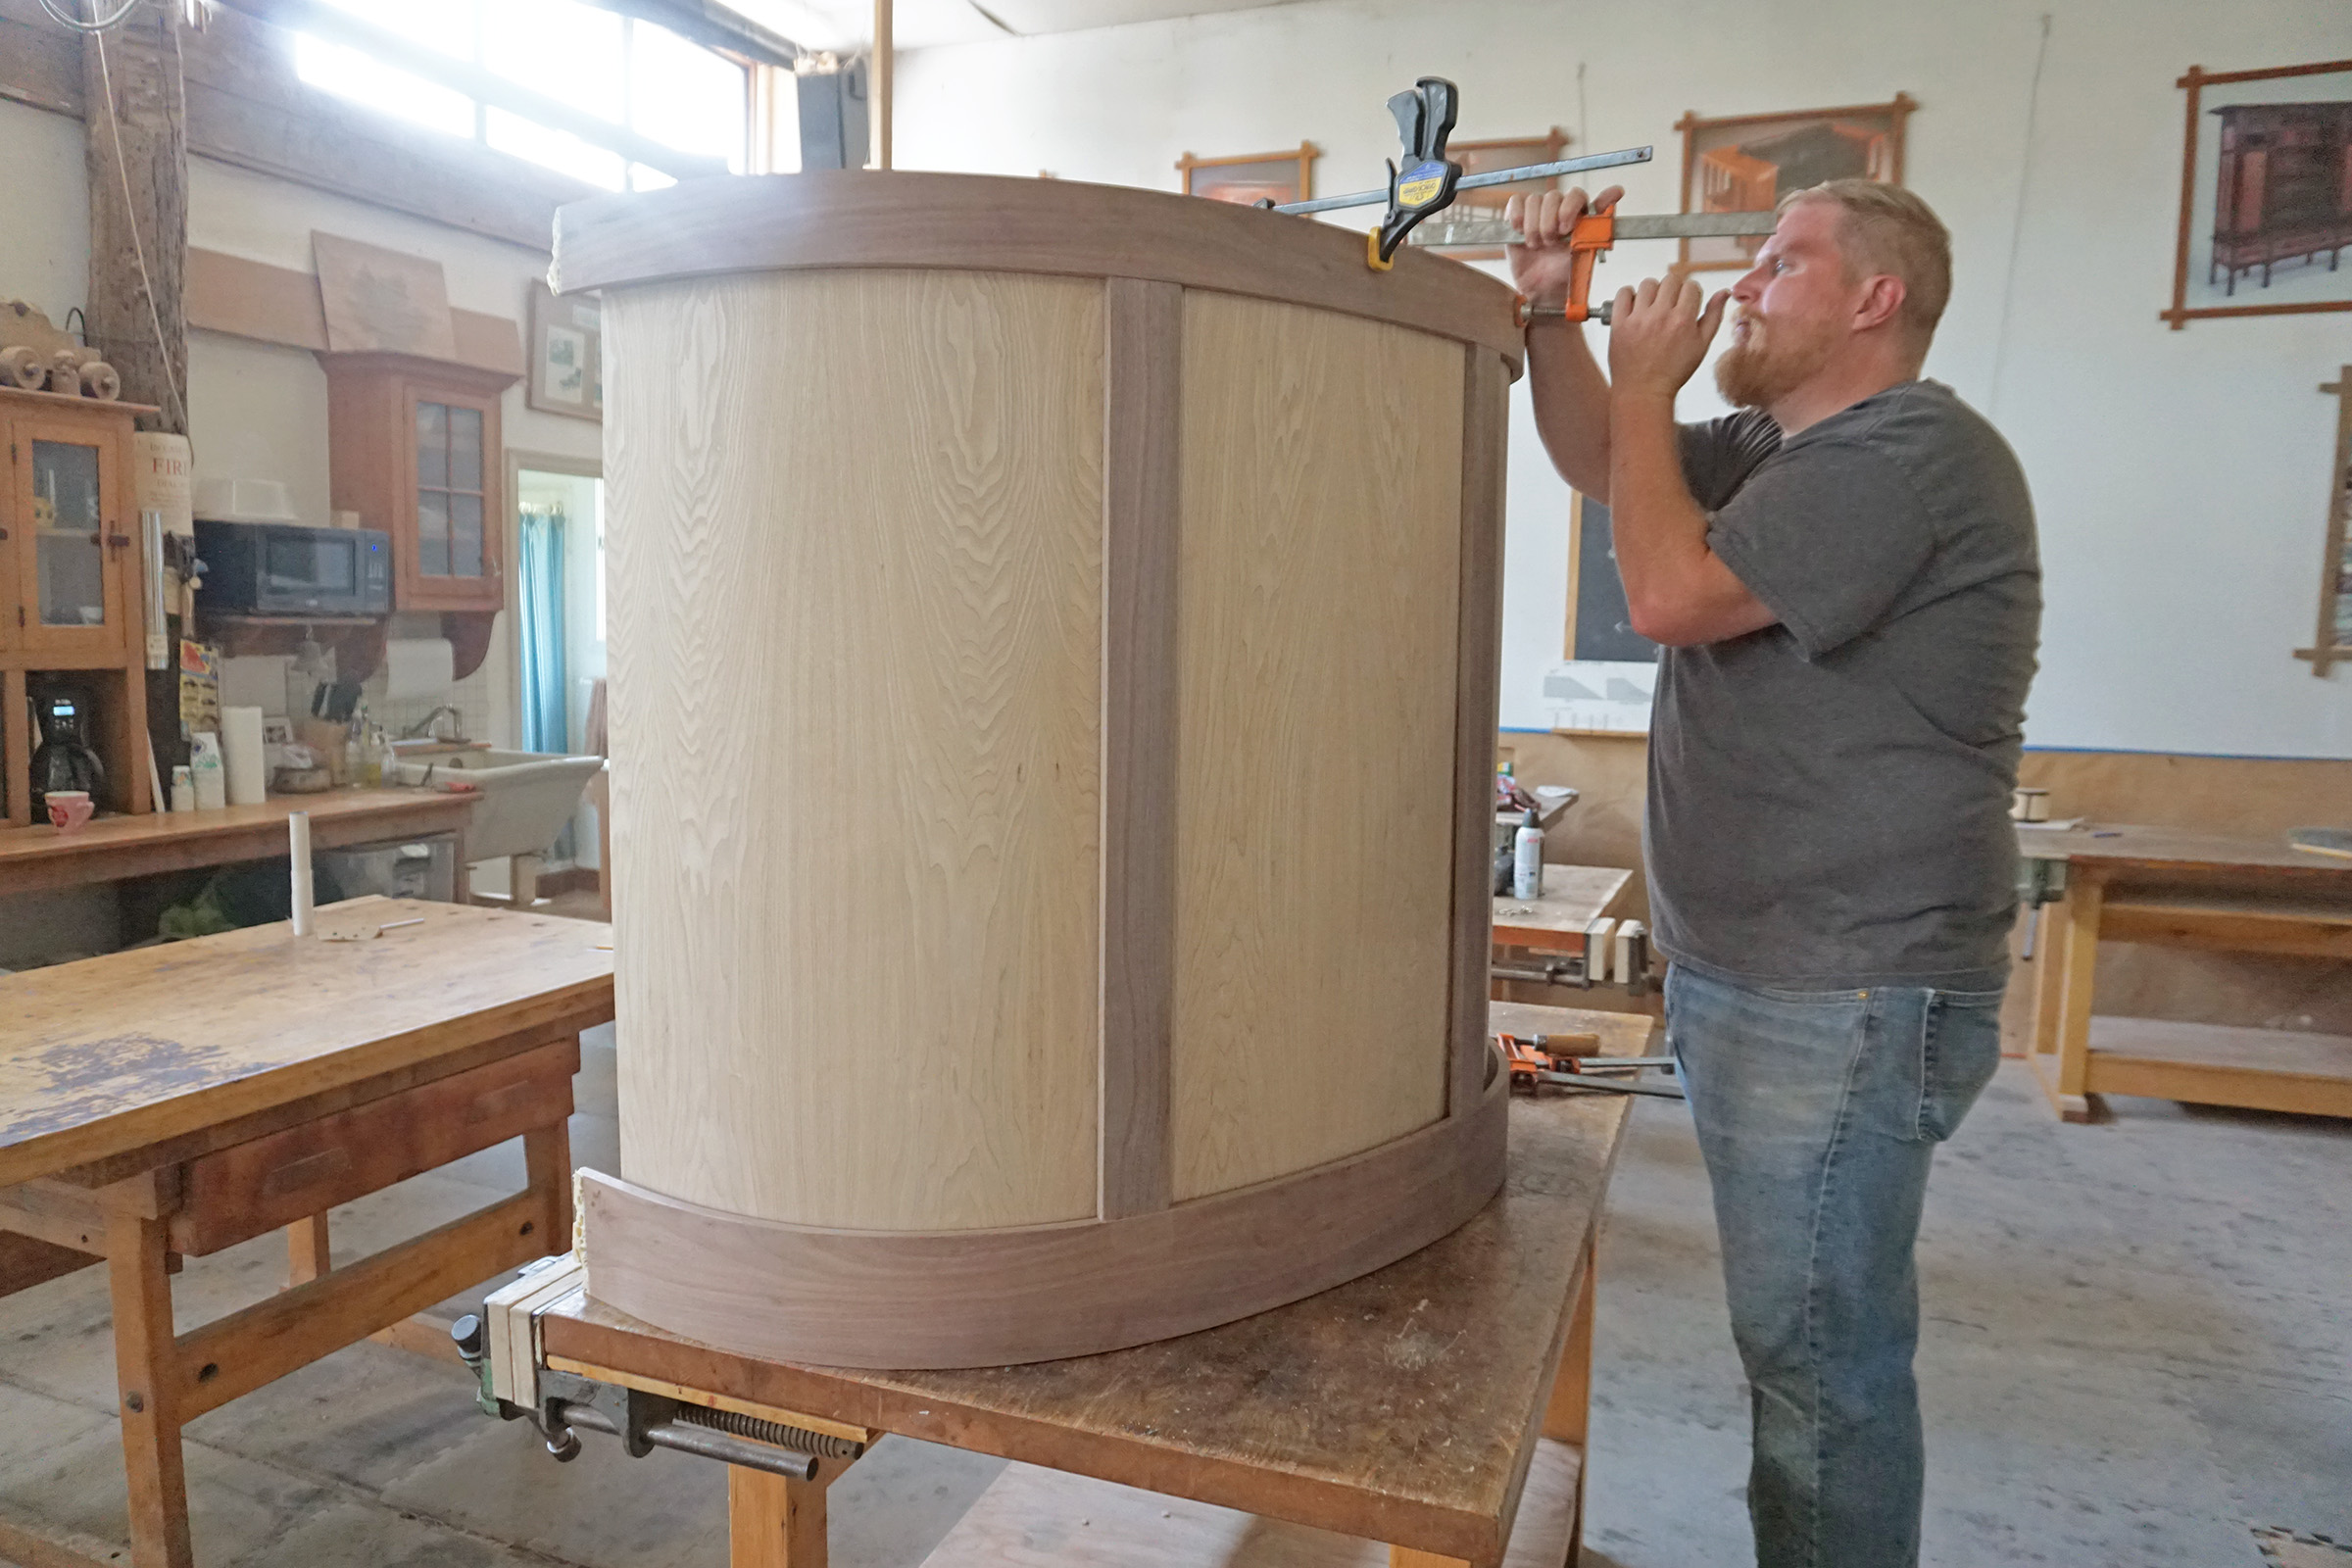
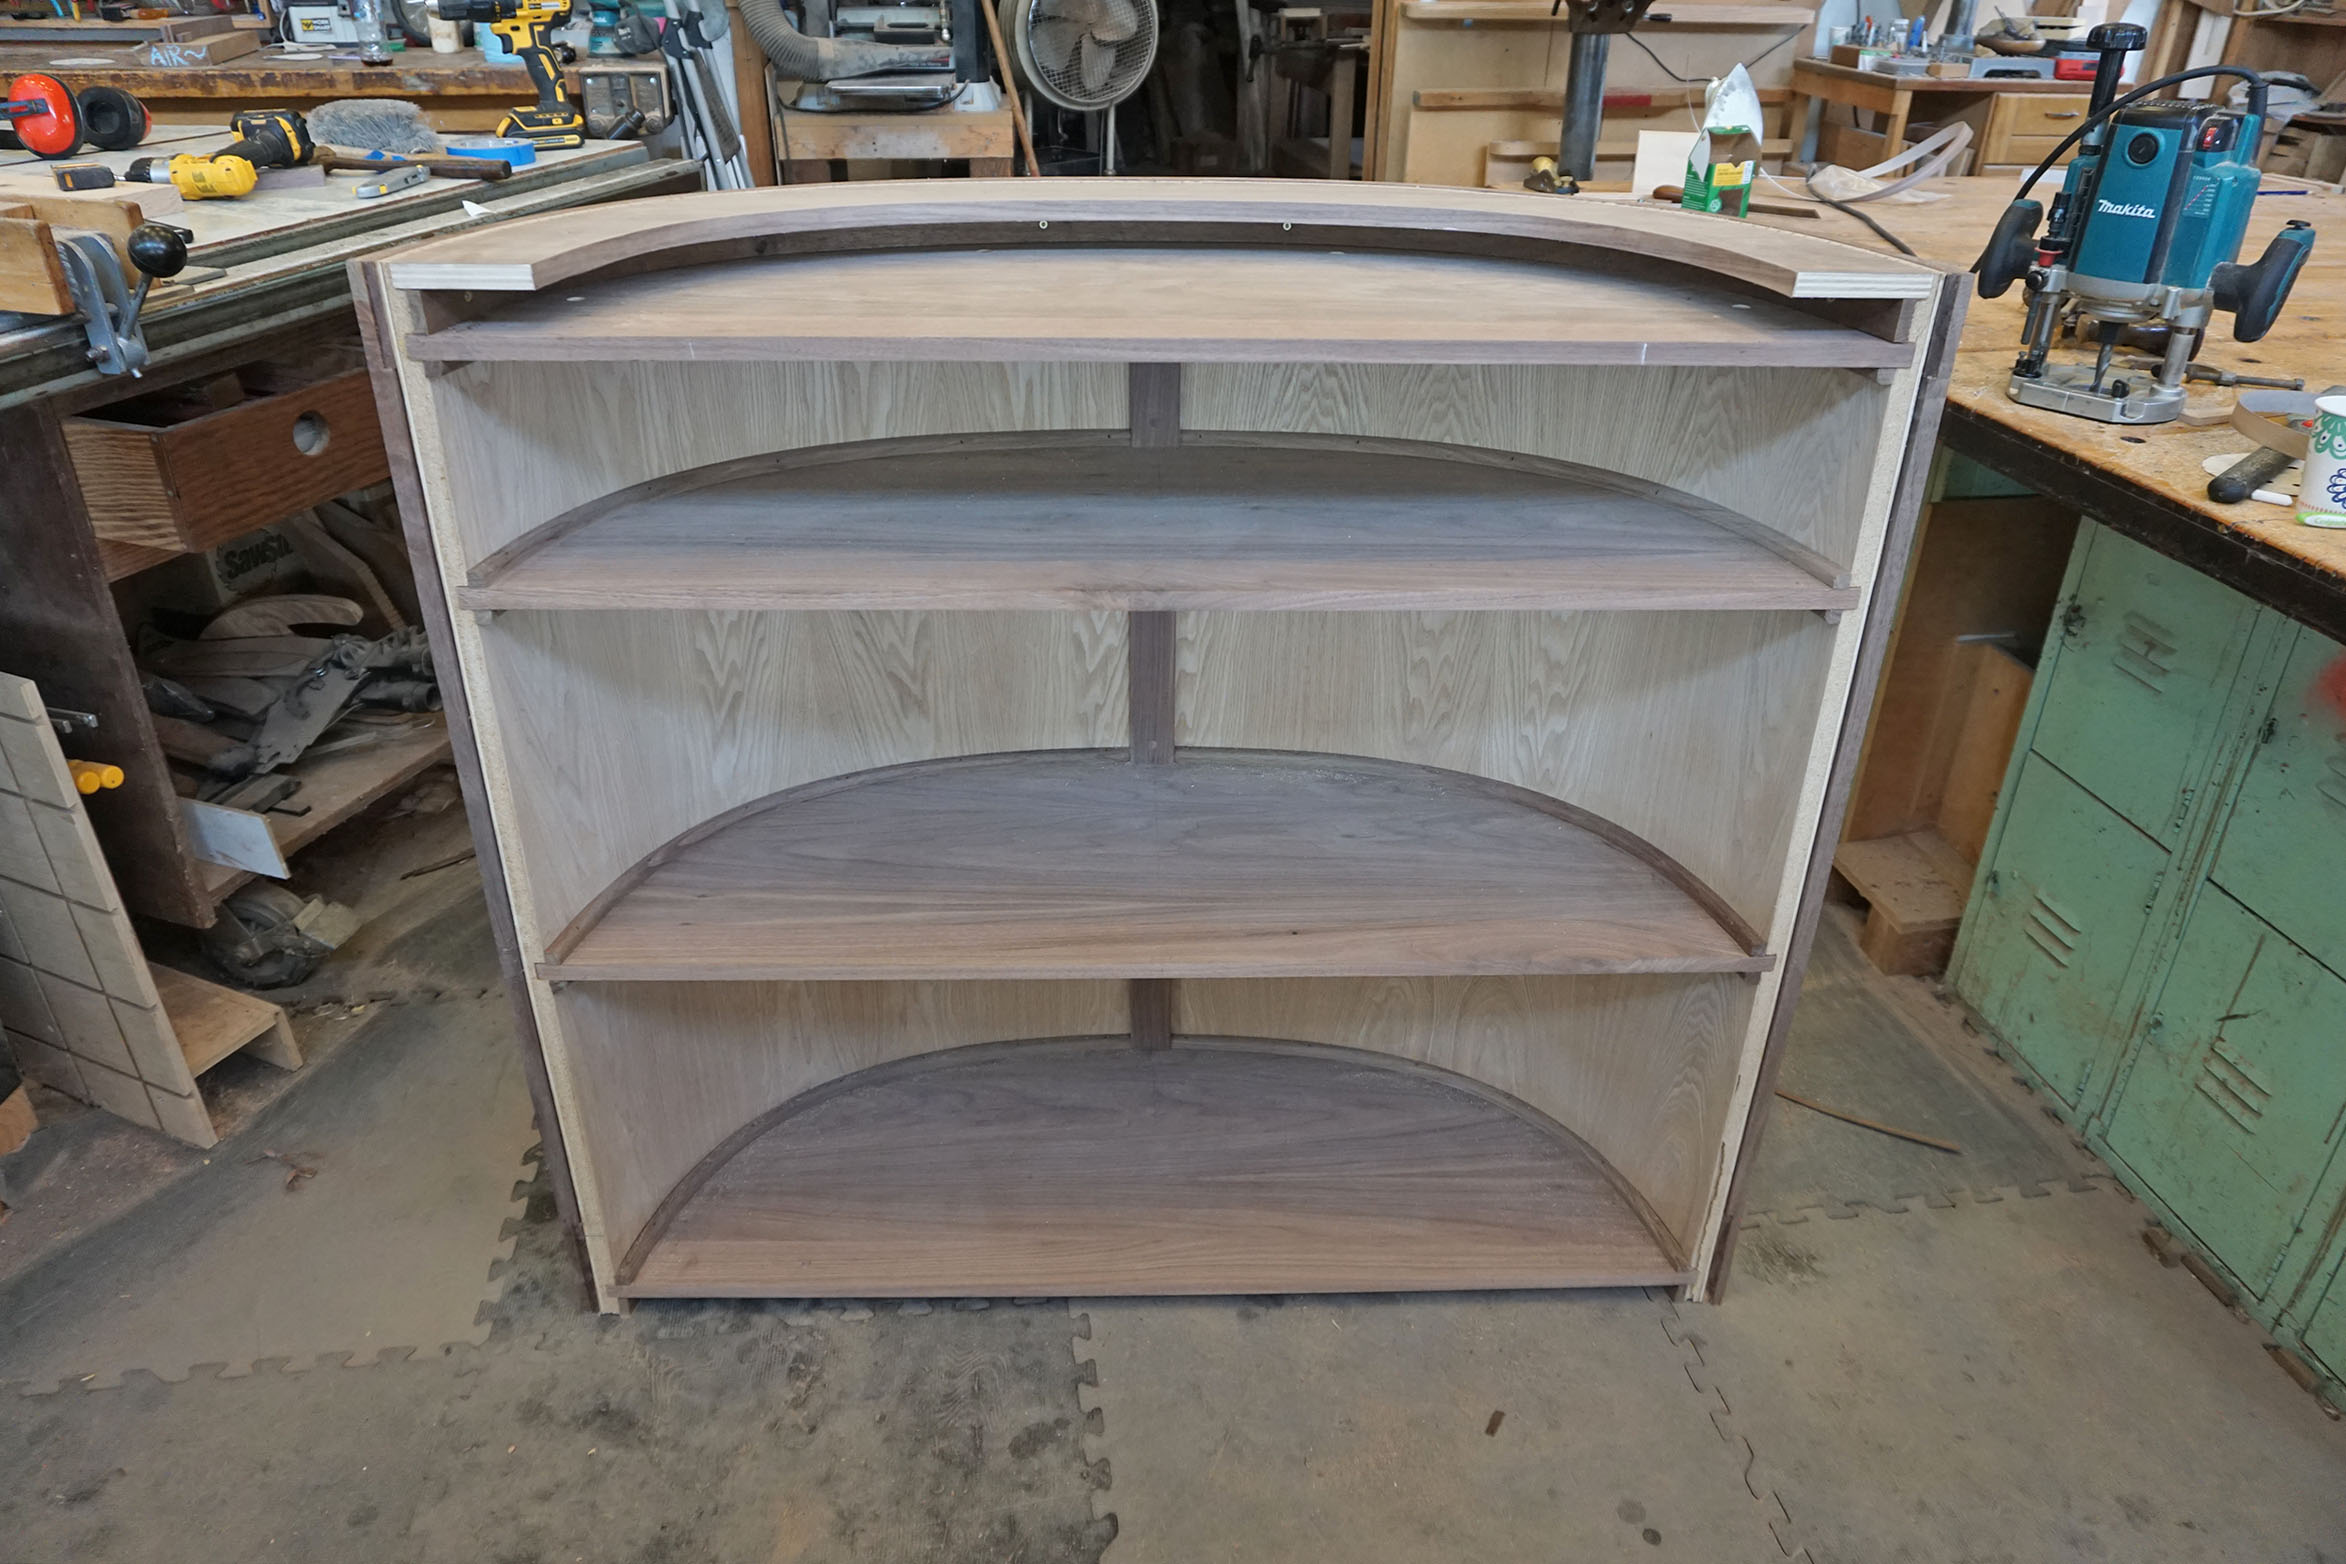
After making a template of the curve, we spent a messy day template routing to get the shell of the curved front together. After that, we put a full scale mock up together with kerf bent poplar for the frame members. This just helps us to get a sense of the piece and make sure it translates from the scale model. We're really happy with the look of it and it's be a pleasure to see it in walnut and ash.


Bending Forms
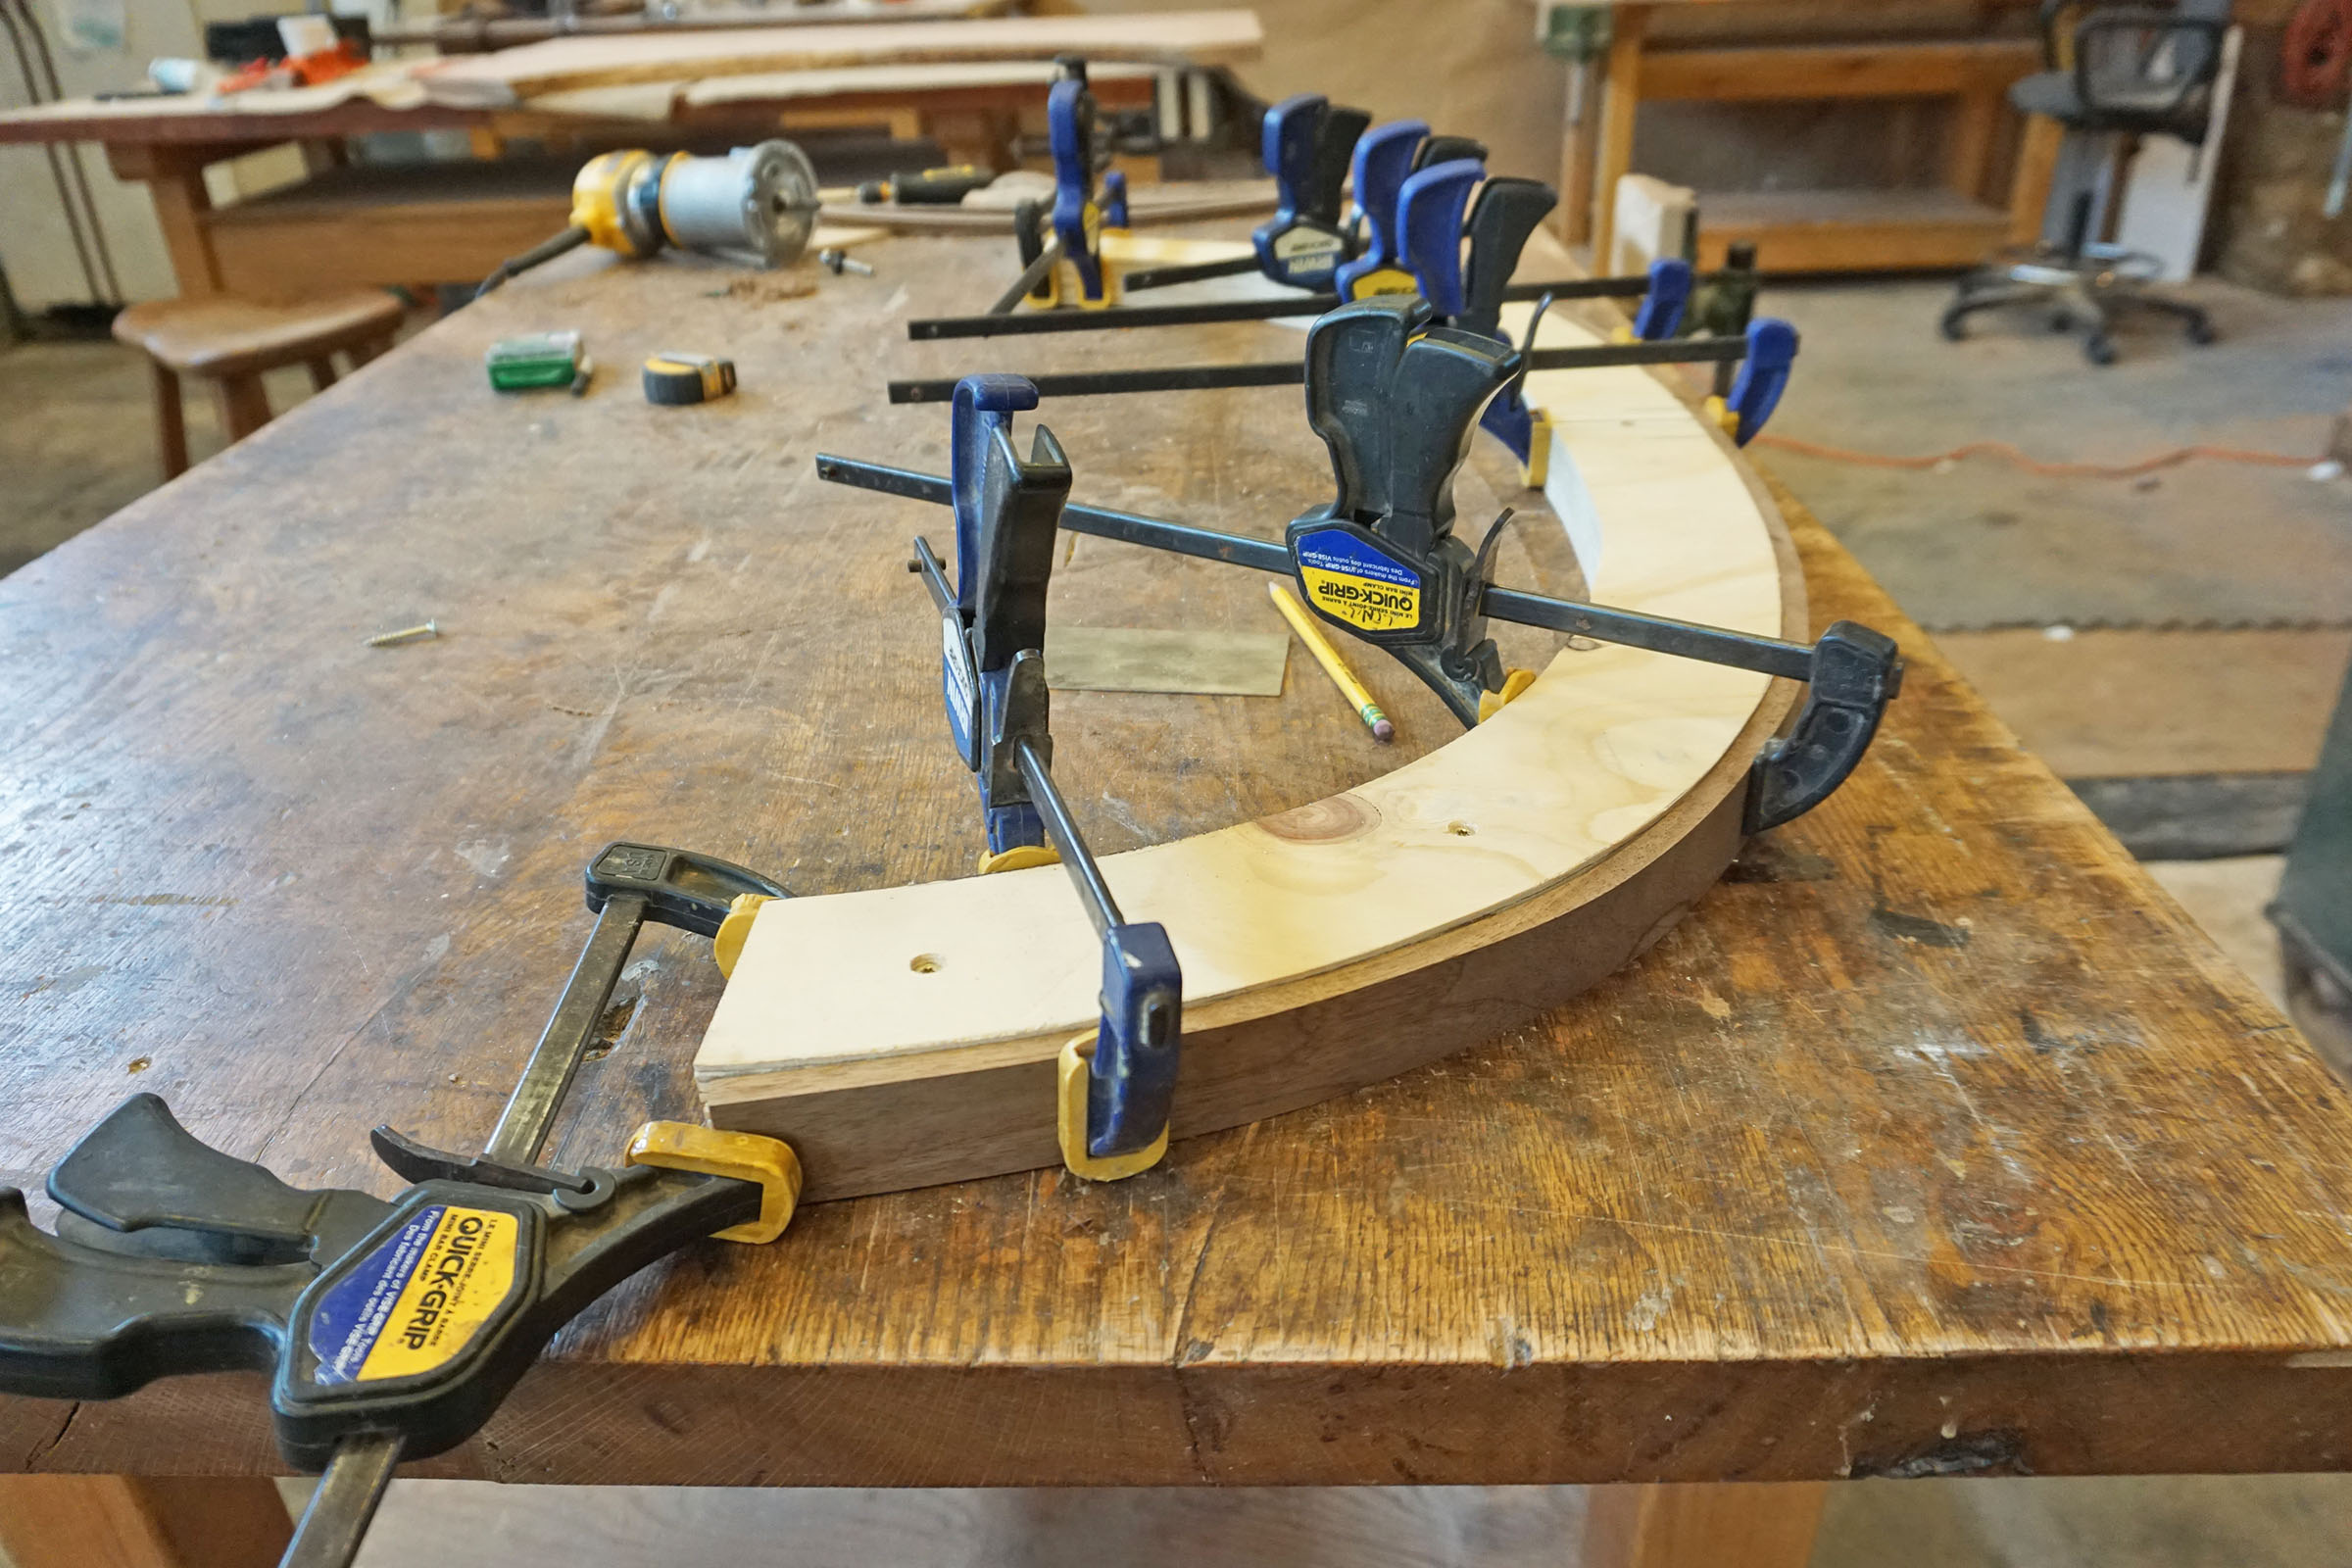
We finished up the week's work making some bending forms for the curved walnut rails. Larissa is pattern routing templates that will become the bending forms.
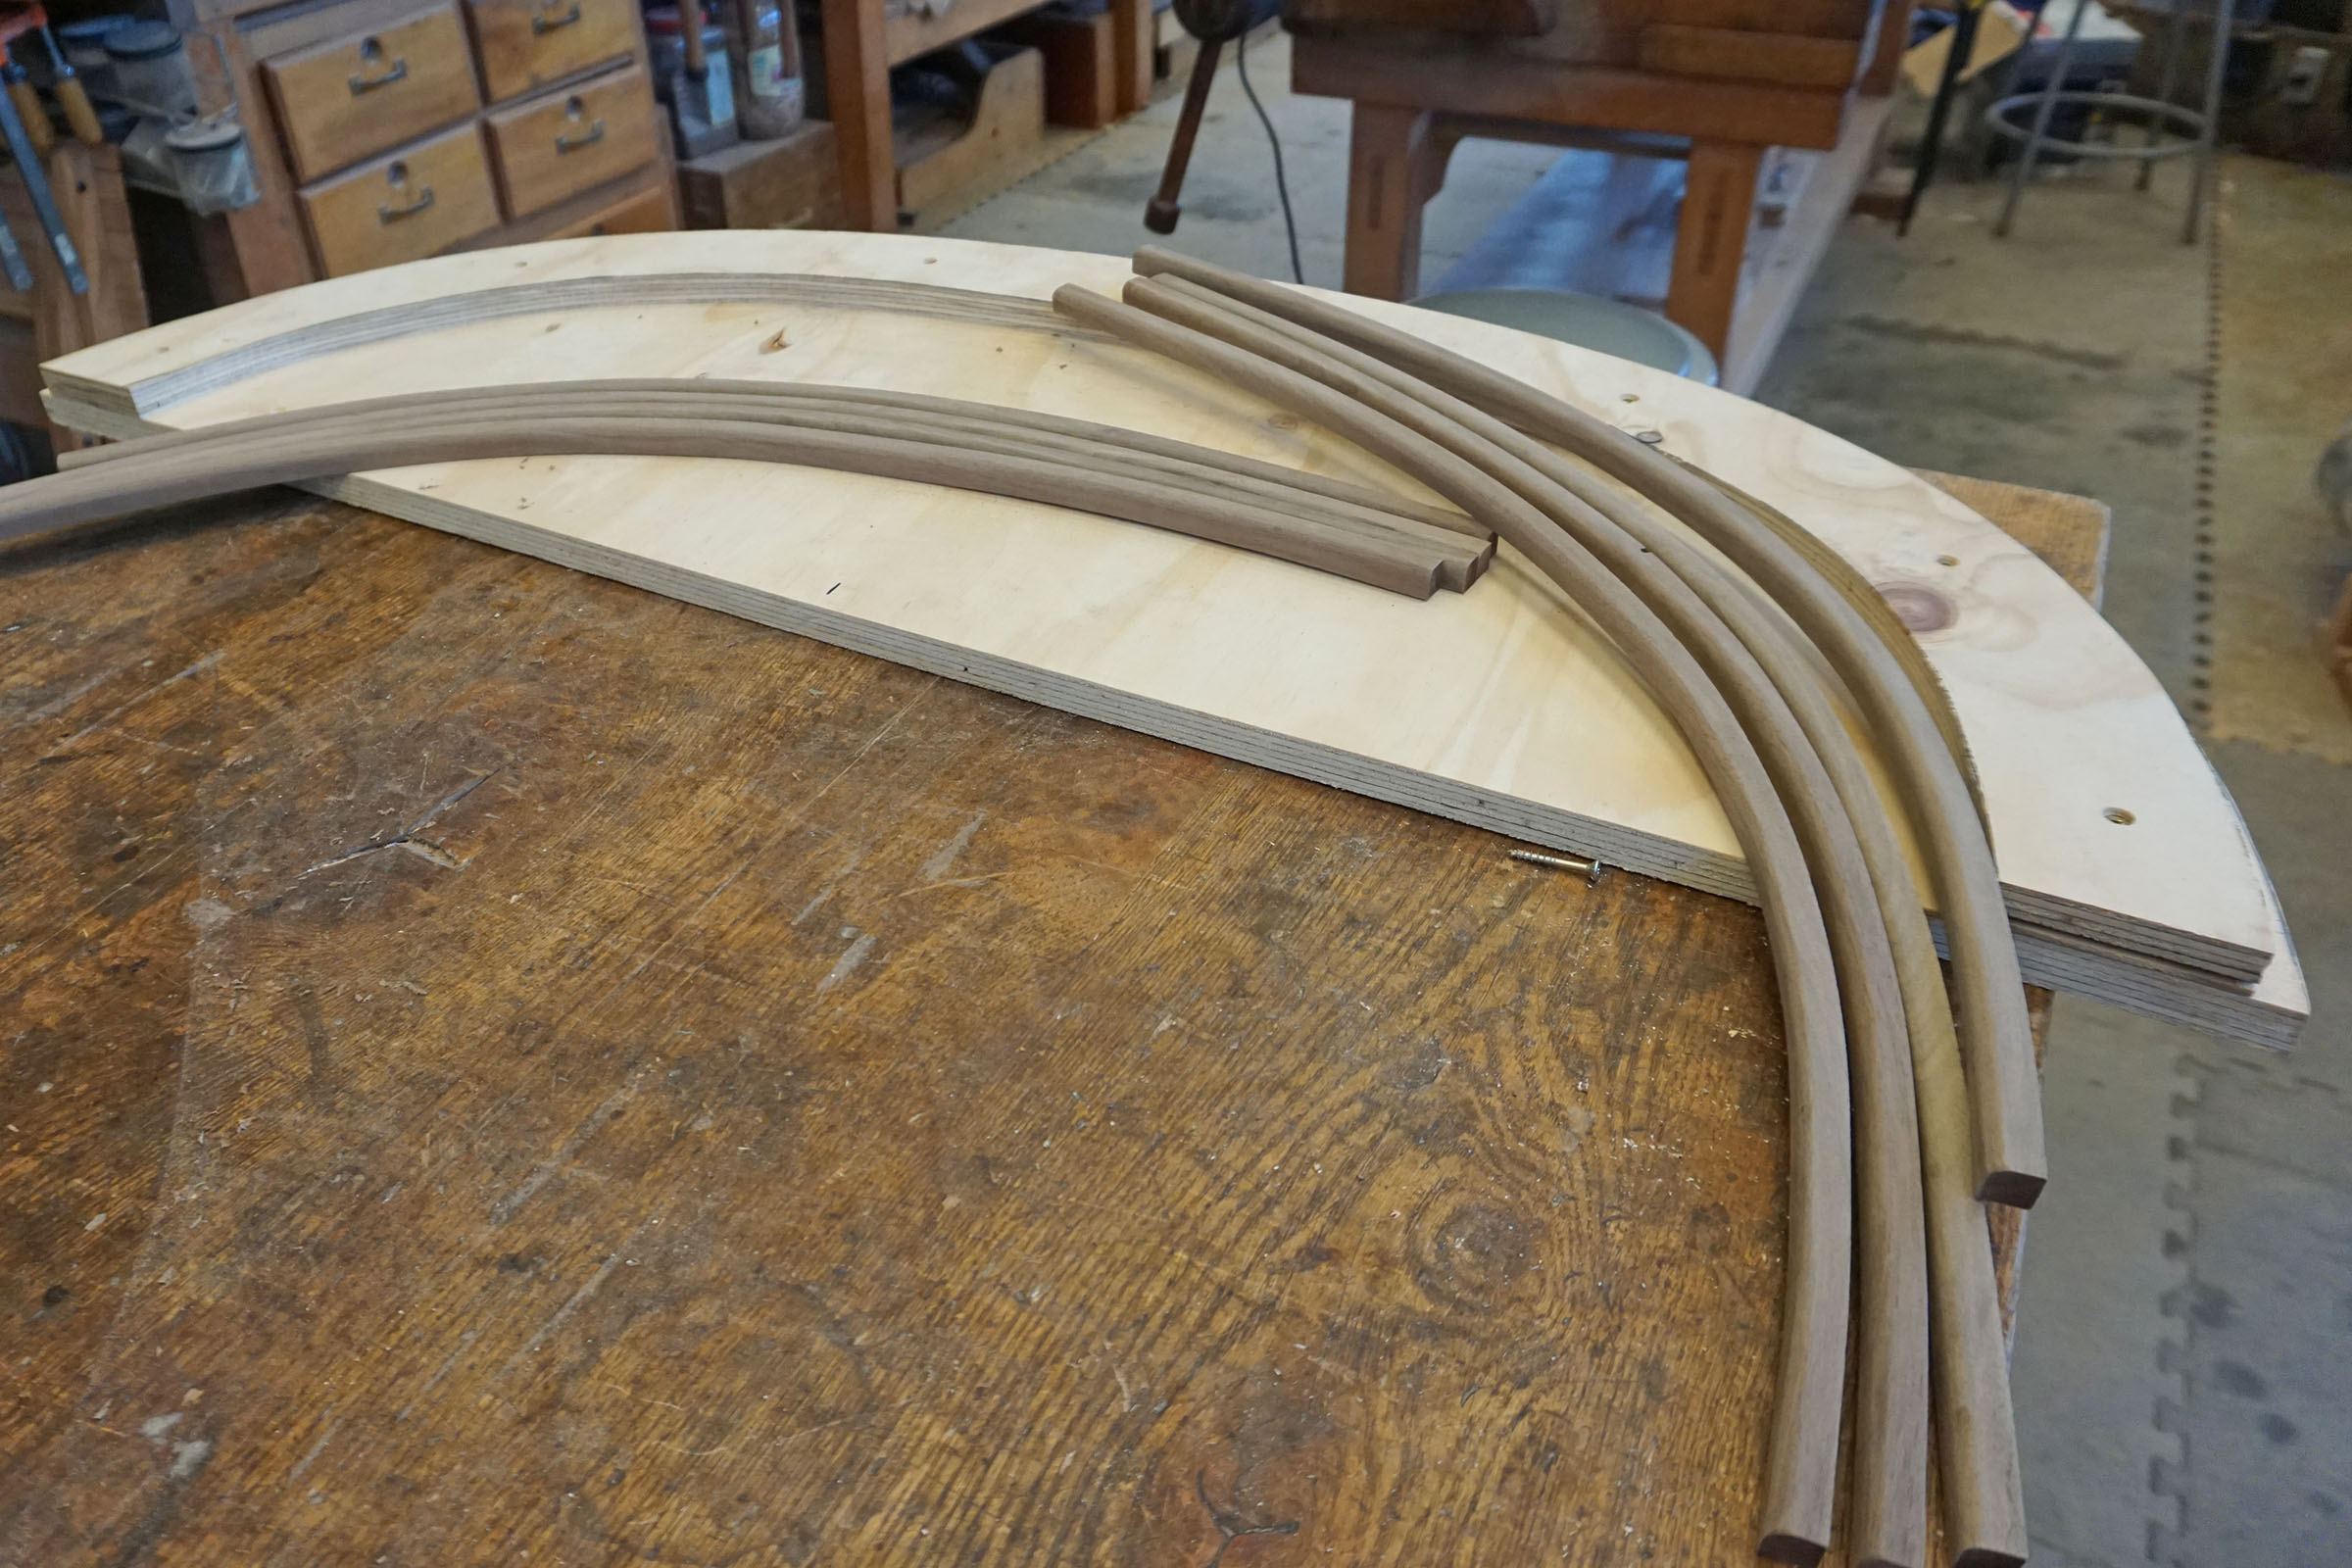
We finished the week with a pretty huge pile of templates and forms. We have a class in session next week, so your bar will be parked in our finishing room for a little while. The next steps are to move into veneering the curved front and bending the walnut frame work.

Progress Update 7/13
We got back into the bar over the past couple weeks with a renewed sense of vigor after seeing all of Matthew's ideas for our re-brand. After forming the shell and mocking up the initial design, now we can get into the fun parts.
We made the bending forms the prior week, but they had to sit while we had a class in session. This week we got to put on the glue and bend 'em up. The walnut cross pieces of the bar are made up of four 1/8" thick pieces. We apply a polyurethane glue between each layer and clamp it around the form. The next day, we un-clamp and it holds it's shape. One of those Christmas morning experiences that we love each and every time.
Meet Jason...he's taping the seams for the inside of the bar. I'm flush trimming the excess veneer after our glue up. We don't have any photos of the glue up, because glue ups are stressful.


After the lamination as set, it was time to join the two with the vertical mullions. Here's a shot of a little jig set up to help cut straight mortises in a curved rail. Then, the mullions were hand shaped to fit the curved face of the bar. I'm using a travisher, which is a curved blade used mainly for refining carved chair seats. I love every excuse to use this tool.


We glued up the outer frame work, and fit it to the shell. We have a class in again next week, so the bar will spend it's time up in our showroom to make sure it's safe from our student body! Next, we'll move on to finishing up the outer framework and then the interior.
Here's what the Wyne Bar looks like this week. You'll notice a few chalk marks at the mortise and tenon joints... we're thinking of round pegs to highlight the joint a bit. We usually use the square buttons, but round seems more right for this piece. Happy to hear any thoughts.
We've crossed a threshold now where we can think less about construction of the piece and more about what the first drink made at the bar should be. Input would be appreciated.


Progress as of September 7, 2018
Welcome back! In the weeks between classes we've managed to tackle a few more major elements of the famous, Wyne Bar.
Since we last checked in, we dove into finishing out the framework that wraps around the front of the shell. We attached the outer vertical pieces (stiles) with a half lap joint. Below you'll see that Larissa made up a few jigs to achieve the joint. The first was a router guide that was clamped to the bar and provided a flat surface for the router to ride on to cut the bottom lap face of the joint right into the attached face frame. The guide was wedged at an angle in order to cut the lap joint at an angle so it allows the stile to lay flat along the curved face of the bar. The second jig was a carrying sled that held the stile piece at the opposing angle to the routed portion of the joint and was cut at the table saw. The joint mated perfectly, looks great, and is now glued into place.


You saw Jason preparing the veneer strips for the inside of the bar in our last update. Those were glued in just before we started creating the molding detail for the inside. We had decided that there needs to be some kind molding to keep the veneer edges secure where they meet the shelves, as well as provide a buffer in the event of spills on the shelves inside the bar. We researched quite a bit and ordered some flexible molding that is apparently used for interior structures with curves and arches. Turns out, it just looks like big rubber spaghetti, so we glued it in and hope you'll love it. Kidding! We abandoned that idea and turned back to our wheelhouse, bending solid pieces of wood.
Rob fired up the steamer (which looks a lot like a PVC pipe bomb but I assure you that we go to great lengths to make sure it doesn't become that) and we steam bent 14 strips of solid walnut after they cooked at 200 degrees for 45 minutes. After they were bent and dried, they were rounded and installed along both the bottom and top inner edges of each shelf. We think they added so much to the look and function of the inside!


Which bring us to today. Today we have the face frame for the back face all glued up and nearly ready to be attached! When that framework is glued on, we are turning the corner into a zone where there are just a few things left before it's ready for oil and finish! But, before we get too ahead of ourselves we have a couple of questions to pose for you guys to consider over the weekend.
Bar Top:
What do you think about a curved opening around the spill mat zone? The original mock-ups and models called for a rectangular space to be cut out of the bar top but we made a quick plywood template just to see what it might look like with an arch that mimics the curved front. We have had a few conversations about how nice both ways would look but aren't sure if there is a practical element we should be considering as well. What are your thoughts? Are there specific spacial dimensions we need to be sure to have for maximum drink mixing and serving capacity? We're happy to go with what you prefer!
Bells & Whistles:
We've been talking about what we can add to this beauty to really finish it off; The 'cherry on top', if you will. Ideas we thought might be nice:
- A small, shallow drawer mounted in the center under the bar top to hold bottle openers, stirrers, perhaps a parring knife or whatever other little things a cocktail artist needs
- A bar or hook mounted up under one of the shelves or out on the face frame to hang a bar towel
- Some stem glass hangers mounted to the underside of one of the shelves
We don't have much of an idea of what would be useful for a home cocktail craftsman such as yourself so, please let us know if any of these ideas appeal to you or if there is something else.


We are excited to see this batch of progress on the Wyne Bar as we get to a point that it looks like a real piece of furniture! We will be making the bar top, adding our signature "buttons" at the joints on the front framework, and finishing up the last of the details in the next couple of weeks but we are most excited to get oil on it so that you can see the natural colors come to life. Let us know your thoughts on the questions I mentioned and/or anything else. Until next time, cheers!